Life is strange is an adventure, with a clear focus on the cinematically staged story. The game in the various areas provides many hotspots away from the actual action, where you can look at interesting objects and talk with other characters.
Also during the fifth and final episode of life is strange you can take ten optional photos. Some photos require a certain degree of power of deduction, or our help. In this article, we list all the ten optional photos, their locations and actions required.
Incandescent - Optional photo 1
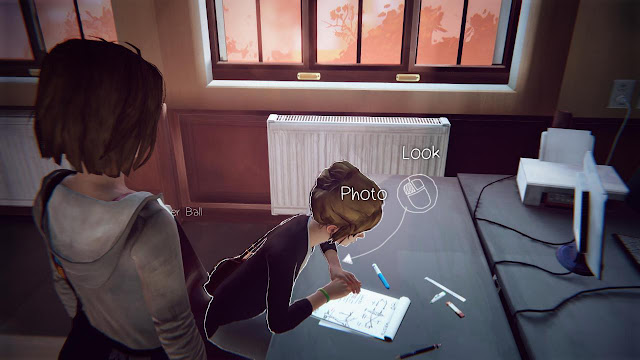
The first opportunity for a photograph arises once you are escaping from the darkroom and the clutches of Mr. Jefferson. You find yourself again in the classroom, as at the beginning of the game in the first episode. Before you begining, you shall warn David. For this purpose, he searches the bag of Max. In it you will find a flyer with the telephone number of security chief David Madsen. Now you choose the phone that is on the table. After following cutscene you can move freely in the classroom. Your photo opportunity is Kate, sitting down at her table. First you need the poor girl cheer talking. Then you can take a photo of the smiling Kate.
Night Vision - Optional photo 2
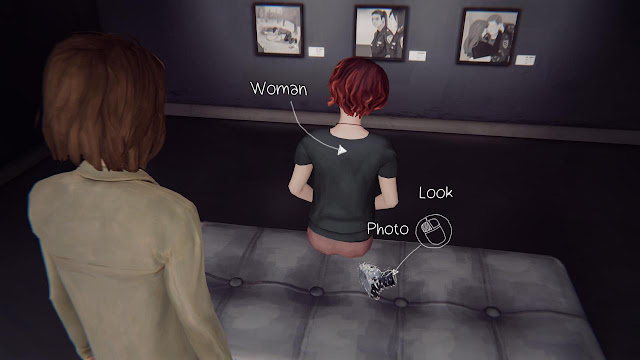
The second photo can be found in the Zeitgeist Galery of San Francisco. After speaking with Director Wells you can move freely in the space. Max has his own camera, although not present, yet you find an opportunity for a snapshot. To do this you keep yourselves from the entrance on the right. There you should see a small passage in a slightly deeper area of the gallery. Once at the bottom you see a red-haired woman sitting on a bench and looking at photos in front of her. Next to her is a camera. These can be used Max to take pictures from behind an image of women that has her own photo competition not so different.
Framed - Optional photo 3
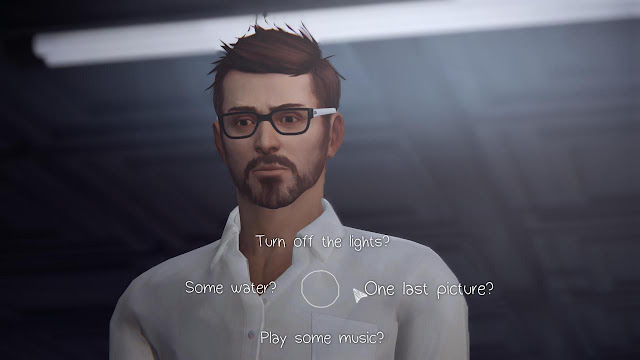
This photo is not so obvious to find as Max does not express herself here. Once you have traveled from the gallery through your photo and torn, you find yourself with Max again in the darkroom in the clutches of Mr. Jefferson. This has now enough of Max and prepare the final drug dosage before kill your heroine. Luckily David has a fantastic in the bunker, but is surprised by Jefferson. In order to influence the situation and to achieve the picture you have now as far as possible rewind. Max then implicated the psychopathic teacher in another conversation in which you are four different options available. Do you choose "One last picture?" Jefferson accesses to the camera and makes the third photo for your collection. He also sets the camera to a cheap place where they can take David as a projectile.
Camera Obscura - Optional photo 4
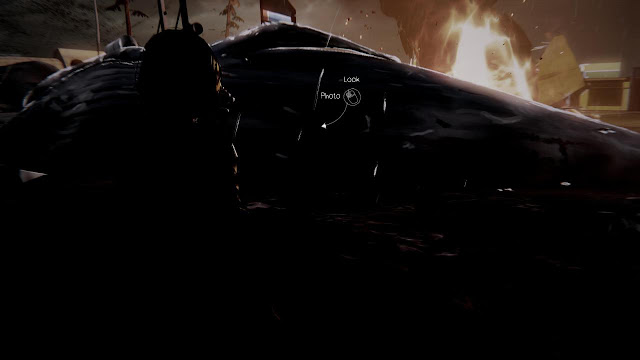
For photo number 4 first you have through the Arcadia Bay fight. After you've saved the trucker, Evan and Allysa, you enter a shop to advance Diner for Two Whales. Here you have to turn on the power to take the sprinkler system in operation. However, the fishermen will be killed. If so quickly into his room, turn back the time and also saves him. Now again turn on the power and the way to dinner is free. After a short time you have to watch here, as the restaurant exploded in a massive fireball. Rotate the time as far back as possible and move quickly to the red, overturned sand container before dinner. With the sand you can now stop the burning and prevent the explosion. Now you can move freely before dinner and watch the whale right next to you. From the correct position of this serves as your photo.
Blowup - Optional photo 5
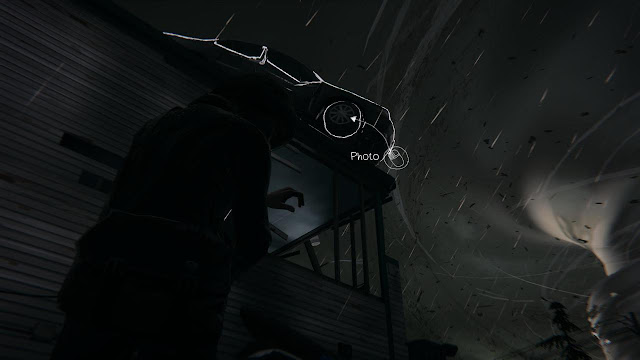
Also this photo is to find dinner in the area around the Two Whales. This is the car that hangs at the entrance to the alley next to the restaurant on a house. The interactive object is more specifically of the right front tire of the car. To obtain the option on a photo, you must first go to a piece of the alley and look at the car at the right angle. If the tornado is seen in the background, you should have to get the picture no more problems.
Iris - Optional photo 6
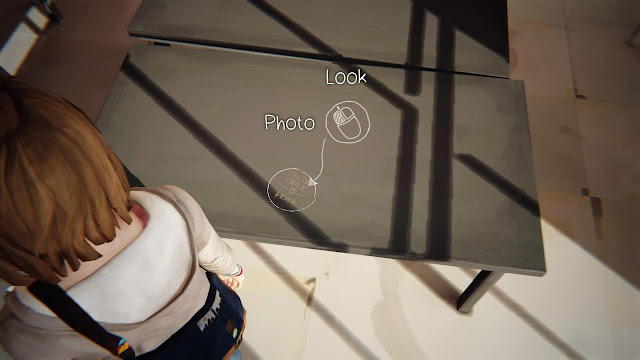
Now all the rest of the photos are found in Max's sinister nightmare. After speaking of Max and Chloe on the beach in front of the Tornado the protagonist breaks times together again and falls into a surreal dream. Move you can watch it for the first time in the already well-known classroom. For the photo go to the table in front of you, can be found in the first episode of the scribe saying "Rachel Amber 4 ever". This you have to look at with "Look", then the font turns to "Max Caulfield 4 Ever". Now look one more time and it is "Chloe Price 4 Ever" on the table. now you can take a picture of this.
Sensor - Optional photo 7
For this you must first fight repeatedly hallway of the girls dormitory. First you talk to Kate and follow her afterwards by her bedroom door. In the next hall you lift the key on the table in front of the entrance to the showers. Then go through the door of Room 218. In the clothes of Rachel Amber, Max now has the door of Rachel's room to enter, which is in the room 224th. Finally, you turn into Victoria and you have to go to her room behind the door with the number 221st. Now you're back Max. However, before you should go to your room, turn briefly into the hallway to shower room. If you look out the window you see now two huge squirrel take a photograph of him for the seventh picture.
On Display - Optional photo 8
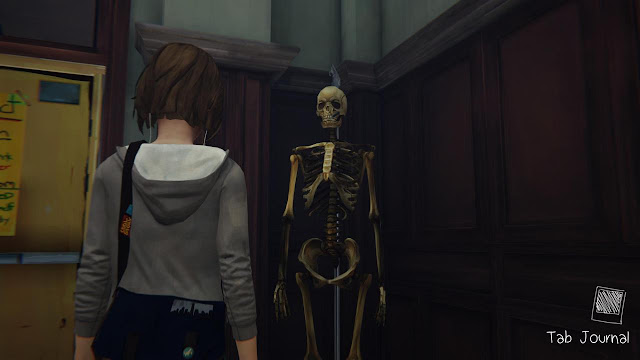
This image is tricky, there are no real "Photo" option for it. After traveling through the corridor of the girl’s dormitory you come back in the Blackwell Academy and experienced the hustle and bustle in the hallways of the school as in the first episode. However, time is running backwards and only Max moves forward. For the photo you must first follow the corridor into the main hall. However, instead of as usual and requires to go to the bathroom, you turn to the skeleton, which is at the opposite wall. Since time is running backward, must also be made in accordance with the picture of the last step. So you open the diary as soon as the relevant screen will display and the image is created or not - this time gimmick is confusing.
Light Meter - Optional photo 9
Your goal is this time of the locker by Warren during Slow Passage of the nightmare. After you have cheated at the Jeffersons and the rotating spotlight on the fountain over, you come to an area with many lockers. First you have to get away from Warren, who always lights up in one of two directions. Then you come to a crossroads. Link rotates Director Wells his rounds, while the right Samuel goes up and down. You think you are in the right gear. When Samuel is just to the left of you, you can continue to get right to the lockers around in a niche. Here you are once safely. You will also find here the cabinet of Warren. The fun begins as you and the view of the disturbing motif to divulge.
Silhouettes - Optional photo 10
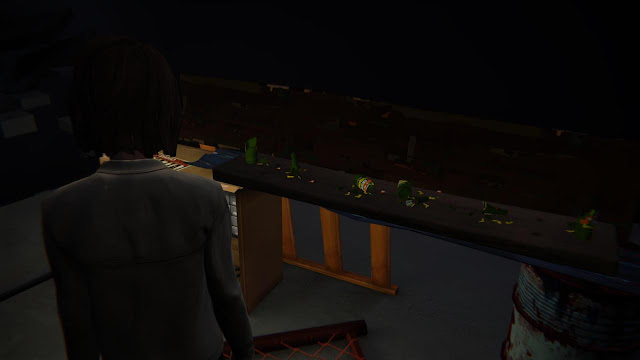
For the last photo you must first make some preparation. In creep section in the junkyard are hidden five bottles as it was in the second episode. After these green objects must keep your eye out while you dodge the torches of your opponents. The bottles are not hard to find and should be overlooked when thorough screening of all routes barely. Max commented collecting your success and know you so down on the number of remaining bottles. Once you have done that, you go to the exit. There you see the impromptu shooting. Once all bottles have been collected, you can interact with them and snap the last picture of life is strange.


Comments
Post a Comment